Best laptop for Lumion and Enscape
Our team has examined the laptops that can run Lumion and Enscape software in the best way for you. With these machines, it is possible to run all kinds of engineering software without any problems.
Our team has examined the laptops that can run Lumion and Enscape software in the best way for you. With these machines, it is possible to run all kinds of engineering software without any problems.

Yapay Zeka (YZ), mühendislik alanında devrim yaratan bir dönüşümün öncüsü haline gelmiştir. Geleneksel tasarım süreçlerine kıyasla YZ’nin entegrasyonu, verimlilik, doğruluk ve yenilikçilik açısından önemli avantajlar sağlamaktadır. Bu makalede, yapay zeka destekli tasarım süreçlerinin geleceğin mühendislik paradigması olarak nasıl önemli bir rol oynayacağına odaklanacağız.

Yetişkinlerde motor becerileri geliştirmek için çeşitli yöntemler bulunmaktadır. İşte bazı etkili stratejiler:
Evet, potansiyel enerji artarsa, mekanik enerji de artar. Potansiyel enerji, nesnenin konumuna veya durumuna bağlı olarak depolanan enerjidir.
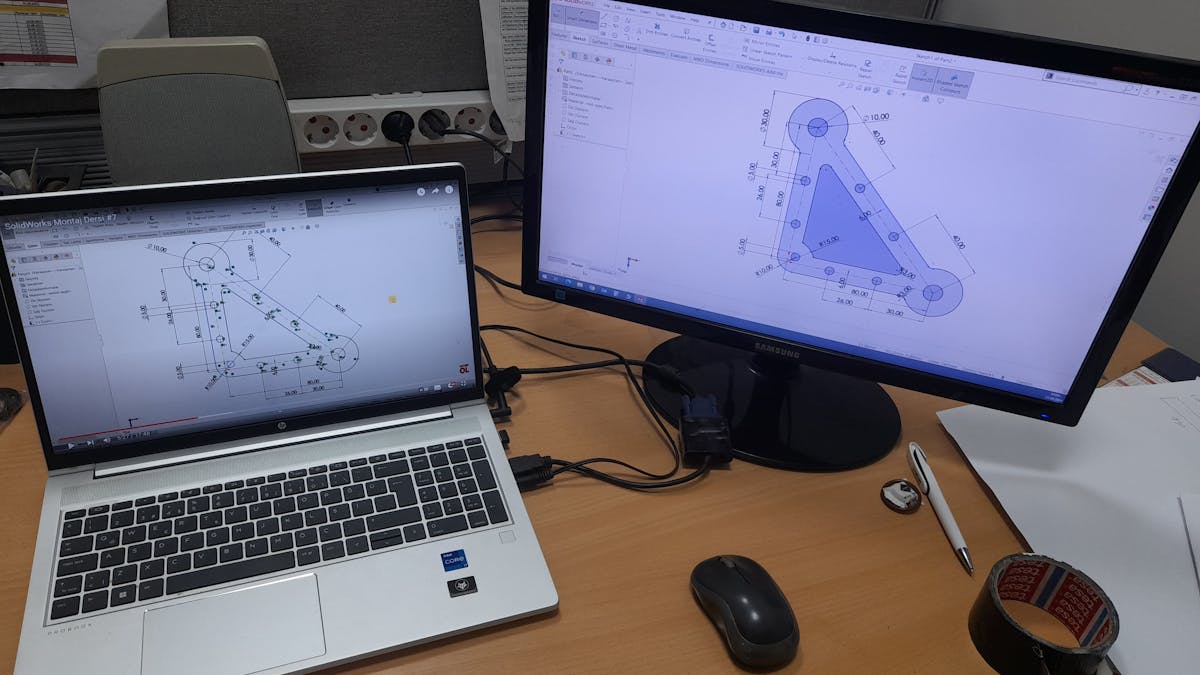
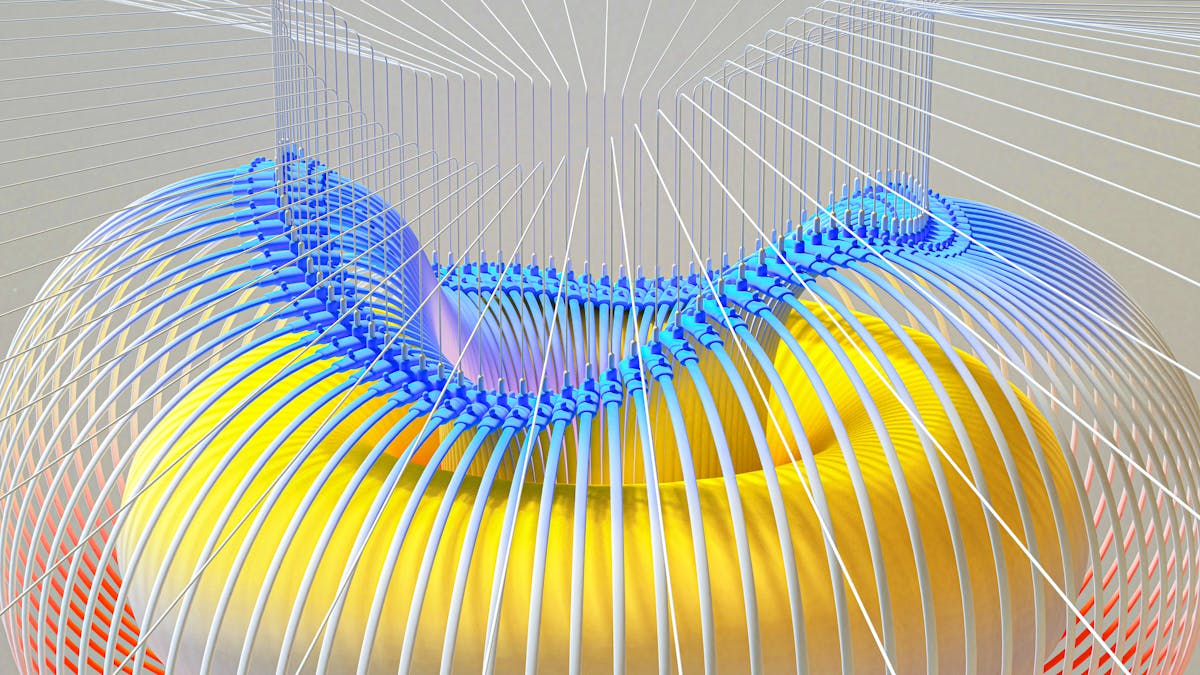
Bir bilgisayar destekli tasarım (CAD) programı kullanırken, yüksek performanslı bir laptop seçmek önemlidir. Bu tür programlar genellikle işlemci gücü, bellek, grafik kartı ve depolama alanı gibi özelliklerde yüksek taleplerde bulunur. İşte CAD programları için en iyi laptopları belirlemek için dikkate almanız gereken bazı faktörler ve öneriler:

2024 yılı metal sanayi sektörü için önemli bir değişim ve dönüşüm yılı olacak. Sektöre yön verecek bazı önemli gelişmeleri şu şekilde sıralayabiliriz:

Dünyanın en çok okunan bilimsel makaleleri, farklı kriterlere göre değişebilir. Yayın sayısı, atıf sayısı, erişim sayısı gibi ölçütler kullanılabilir.

Sac metal kalıpları, metal levhaları şekillendirmek ve işlemek için kullanılan önemli araçlardır. Endüstriyel üretim süreçlerinde geniş bir kullanım alanına sahip olan sac metal kalıpları, farklı şekil, boyut ve özelliklere sahip olabilirler. Bu kalıplar, otomotiv, havacılık, inşaat, elektronik ve birçok endüstriyel sektörde yaygın olarak kullanılmaktadır.

Peki, kurgu için en iyi laptop hangisi? Bu sorunun tek bir cevabı yok, çünkü ihtiyaçlarınız ve bütçeniz seçiminizi etkileyecek. Bu rehberde, size ideal kurgu laptopunu seçmeniz için gereken tüm bilgileri sunacağız.